Single source of truth
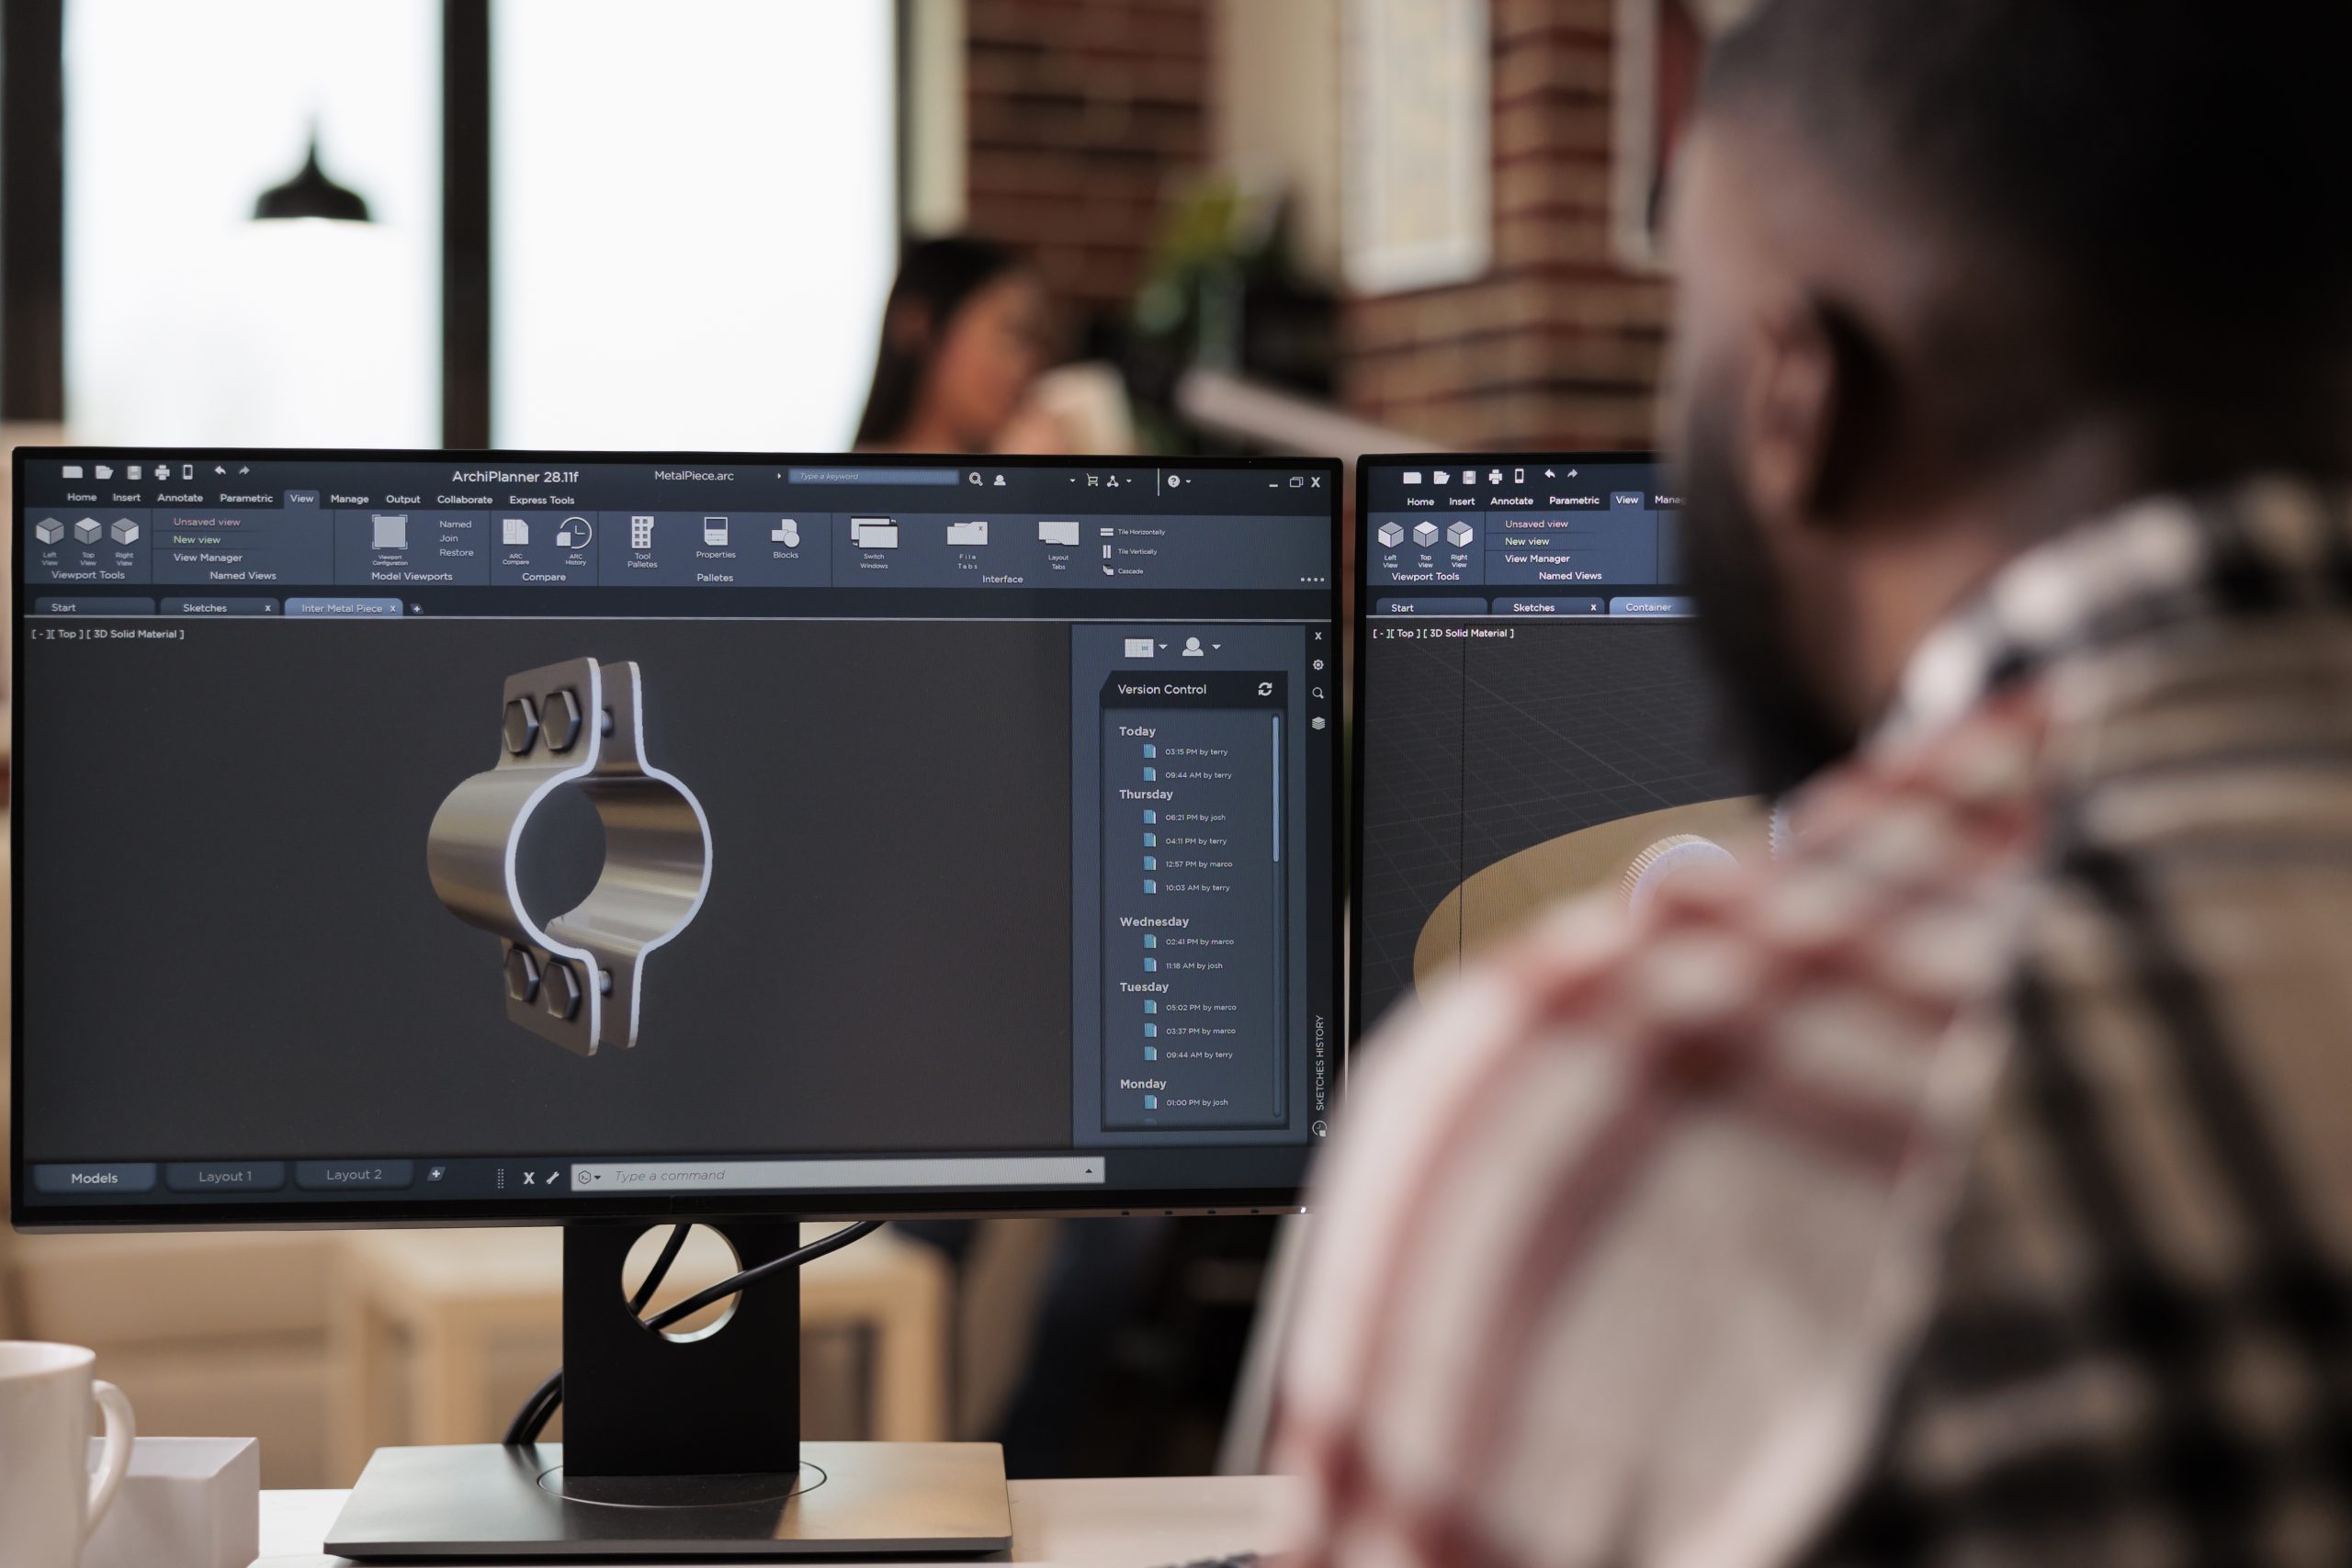
In manufacturing, the best measurement is the last one you made, right? Well, not necessarily. The current answer seems to be “that depends”. Dr Neil Calder, Owner of Engineered Capabilities Ltd, shares his thoughts.
I enjoyed listening to Dr Nicky Wilson from the Spirit aerospace innovation centre (AIC) in Prestwick, which will probably formally be Boeing by the time this goes to press, in a presentation at October’s Advanced Engineering show where she was talking about the “single source of truth” in manufacturing. This truth derives from real and current measurement data specific to individual parts and production processes, and as a credible feed of metrology information to one of the pillars she identified as digitally enabled, connected factories. Manufacturing and measurement are inextricably and tightly linked in the vision of future manufacturing that she projected.
The production system architecture which is being enabled and demonstrated in current research within the AIC moves away from bespoke point-to-point connections in data flow to a more centralised hub-and-spoke one. It does this by utilising tools like the Siemens Opcentre advanced planning and scheduling software solution and the more experimental Factory+ reference framework system for data management developed by the Advanced Manufacturing Research Centre. The intention here is to stitch together manufacturing processes within business units and across supply chain participants in digitally enabled and connected factories for aerospace.

Any engineering drawing which conforms to geometric dimensioning and tolerancing principles identifies the point from which measurements of angles and linear dimensions are made. Consequently the first thing in any process involving machining, for example, is to establish a reference plane on a component and then use that for subsequent manufacturing operations.
This is all very well if you’re forcing a static situation such as alignment with the nominal geometry established in, for example, a CAD solid 3D model. References for measurement or alignment, either manual or automatic, are part and parcel of most engineering manufacturing operations. This is fine so long as real part geometries sufficiently or tolerably match with the CAD nominal, i.e. when life has the good grace to imitate art. It all goes a bit crazy when you introduce the actual real dimensions or positions of manufactured parts and then have to factor that in through offsets in 3D space. So a nice tidy X, Y, Z from CAD in reality becomes a much messier x’, y’, z’. This is then fed through the data soup of software rather than hardware-defined positional determinacy and there’s a very real challenge in knowing which way is up. This single source of truth becomes absolutely vital for assembly operations: a question like “where do you actually drill the fastener holes?” becomes more subjective without a current and credible surface profile of a part.
What has permeated manufacturing since the ancient Egyptians were building the pyramids is the notion of “the drawing”, represented through papyrus scrolls (in my rather evocative last example), blueprints, lofting or 3D CAD modelling. These evolving manufacturing systems, which are becoming increasingly popular or visible within the R&D space, use a much more dynamic version of this that requires careful attention to the provenance of measurement data. As Nicky put it, there’s a need for an agnostic, single source of truth across the supply chain to enable data driven, automated manufacturing and which needs to take downstream processes into account.
If we’re to let go of the comfortable anchor of nominal then we have to trust in the measurement of what’s real. A point of reference is as vital in life as it is in metrology. Too often we latch on to our notion of nominal and assume it’s OK … until it isn’t.


